Red Faction: Guerrilla Multiplayer Guide: Difference between revisions
No edit summary |
No edit summary |
||
| (7 intermediate revisions by 3 users not shown) | |||
| Line 1: | Line 1: | ||
{{ | {{BubbleNav|RFG|no|no}}This page is intended to serve as an overview guide of the various features of Red Faction: Guerrilla's multiplayer mode, based on the PC version of the Re-Mars-tered edition. | ||
This page is intended to serve as an overview guide of the various features of Red Faction: Guerrilla's multiplayer mode, based on the PC version of the Re-Mars-tered edition. | |||
The multiplayer of Red Faction: Guerrilla consists of 8 gamemodes, more than 19 weapons, 10 backpacks, and 41 maps. Gamemodes also have their own variable settings including the starting weapons and backpack, which are different per match in online matchmaking and fully customizable in private games. | The multiplayer of Red Faction: Guerrilla consists of 8 gamemodes, more than 19 weapons, 10 backpacks, and 41 maps. Gamemodes also have their own variable settings including the starting weapons and backpack, which are different per match in online matchmaking and fully customizable in private games. | ||
==Gamemodes== | ==Gamemodes== | ||
'''Anarchy''' - Standard free-for-all deathmatch. Each kill counts as one point, first player to reach the score limit wins. | '''Anarchy''' - Standard free-for-all deathmatch. Each kill counts as one point, first player to reach the score limit wins. | ||
| Line 26: | Line 23: | ||
==Settings== | ==Settings== | ||
There are many different settings which | There are many different settings which can add variety to the way each game works and plays. Some gamemodes have settings that apply only to their specific gamemode. For instance, in Siege each team can have their own completely custome loadout. | ||
==Characters== | |||
There are 34 playable characters in multiplayer. See [[Multiplayer_Characters#Red_Faction:_Guerrilla|Red Faction: Guerrilla Multiplayer Characters]] for a full list. | |||
==Weapons== | ==Weapons== | ||
There are 19 different weapons which the player can spawn with or pick up on the map. | There are 19 different handheld weapons which the player can spawn with or (with the exception of the sledgehammer) pick up on the map. | ||
{| border="1" | {| border="1" | ||
| Line 54: | Line 54: | ||
|style="width: 150px;" | Pistol | |style="width: 150px;" | Pistol | ||
|Semi-automatic pistol. Fires as fast as the player can press the button. A formidable and often underestimated weapon. | |Semi-automatic pistol. Fires as fast as the player can press the button. A formidable and often underestimated weapon. | ||
|Medium range | |Medium range semi-automatic | ||
|No | |No | ||
|- | |- | ||
| Line 73: | Line 73: | ||
|style="width: 150px;" | Gauss Rifle | |style="width: 150px;" | Gauss Rifle | ||
|An automatic weapon which is effective against players but also breaks structures. | |An automatic weapon which is effective against players but also breaks structures. | ||
| | |Close range automatic | ||
|Yes | |Yes | ||
|- | |- | ||
| Line 133: | Line 133: | ||
|style="width: 150px;" | Grinder | |style="width: 150px;" | Grinder | ||
|Shoots slow-firing sawblades which cause significant damage to players on impact. | |Shoots slow-firing sawblades which cause significant damage to players on impact. | ||
|Medium | |Medium range | ||
|No | |No | ||
|- | |- | ||
| Line 139: | Line 139: | ||
|style="width: 150px;" | Nano Rifle | |style="width: 150px;" | Nano Rifle | ||
|A weapon which corrodes structures it's shot at. While effective against players, it is ideally suited to damaging structures supports from range. | |A weapon which corrodes structures it's shot at. While effective against players, it is ideally suited to damaging structures supports from range. | ||
|Any | |Any range | ||
|Yes | |Yes | ||
|- | |- | ||
| Line 145: | Line 145: | ||
|style="width: 150px;" | Shotgun | |style="width: 150px;" | Shotgun | ||
|The Marauder shotgun, a powerful slow firing shotgun that deals significant damage at close range. | |The Marauder shotgun, a powerful slow firing shotgun that deals significant damage at close range. | ||
|Close | |Close range | ||
|No | |No | ||
|- | |- | ||
| Line 181: | Line 181: | ||
==Maps== | ==Maps== | ||
There are 41 maps available in custom matchmaking in multiplayer. Some of them are from previous DLCs, and some of them were previously exclusive to Wrecking Crew. | There are 41 maps available in custom matchmaking in multiplayer. Some of them are from previous DLCs, and some of them were previously exclusive to Wrecking Crew. | ||
Each map has a listed recommended number of players. However, in custom matchmaking any number of players can play on any map. | |||
{| border="1" | |||
|'''Thumbnail''' | |||
|'''Name''' | |||
|'''Suggested Players''' | |||
|- | |||
|[[Image:mp_thumb_assembly.png|375px]] | |||
|style="width: 150px;" align="center"|[[Outpost]] | |||
AKA Assembly | |||
|align="center"|6 - 10 | |||
|- | |||
|[[Image:mp_thumb_broadside.png|375px]] | |||
|style="width: 150px;" align="center"|[[Broadside]] | |||
|align="center"|4 - 8 | |||
|- | |||
|[[Image:mp_thumb_cascade.png|375px]] | |||
|style="width: 150px;" align="center"|[[Cascade]] | |||
|align="center"|6 - 12 | |||
|- | |||
|[[Image:mp_thumb_complex.png|375px]] | |||
|style="width: 150px;" align="center"|[[Complex]] | |||
|align="center"|4 - 10 | |||
|- | |||
|[[Image:mp_thumb_compound.png|375px]] | |||
|style="width: 150px;" align="center"|[[Compound]] | |||
|align="center"|4 - 8 | |||
|- | |||
|[[Image:mp_thumb_cornered.png|375px]] | |||
|style="width: 150px;" align="center"|[[Cornered]] | |||
|align="center"|10 - 16 | |||
|- | |||
|[[Image:mp_thumb_crashsite.png|375px]] | |||
|style="width: 150px;" align="center"|[[Crash Site (RF:G)|Crash Site]] | |||
|align="center"|4 - 8 | |||
|- | |||
|[[Image:mp_thumb_crescent.png|375px]] | |||
|style="width: 150px;" align="center"|[[Crescent]] | |||
|align="center"|10 - 16 | |||
|- | |||
|[[Image:mp_thumb_crevice.png|375px]] | |||
|style="width: 150px;" align="center"|[[Crevice]] | |||
|align="center"|8 - 14 | |||
|- | |||
|[[Image:mp_thumb_crossover.png|375px]] | |||
|style="width: 150px;" align="center"|[[Doubletime]] | |||
AKA Crossover | |||
|align="center"|6 - 10 | |||
|- | |||
|[[Image:mp_thumb_deadzone.png|375px]] | |||
|style="width: 150px;" align="center"|[[Deadzone]] | |||
|align="center"|6 - 10 | |||
|- | |||
|[[Image:mp_thumb_division.png|375px]] | |||
|style="width: 150px;" align="center"|[[Division]] | |||
|align="center"|4 - 8 | |||
|- | |||
|[[Image:mp_thumb_downfall.png|375px]] | |||
|style="width: 150px;" align="center"|[[Downfall]] | |||
|align="center"|6 - 10 | |||
|- | |||
|[[Image:mp_thumb_equilibrium.png|375px]] | |||
|style="width: 150px;" align="center"|[[Equilibrium]] | |||
|align="center"|6 - 10 | |||
|- | |||
|[[Image:mp_thumb_excavation.png|375px]] | |||
|style="width: 150px;" align="center"|[[Excavation]] | |||
|align="center"|6 - 10 | |||
|- | |||
|[[Image:mp_thumb_factory.png|375px]] | |||
|style="width: 150px;" align="center"|[[Factory]] | |||
|align="center"|4 - 8 | |||
|- | |||
|[[Image:mp_thumb_fallfactor.png|375px]] | |||
|style="width: 150px;" align="center"|[[Fall Factor (RFG)|Fall Factor]] | |||
|align="center"|10 - 16 | |||
|- | |||
|[[Image:mp_thumb_fortress.png|375px]] | |||
|style="width: 150px;" align="center"|[[Fortress]] | |||
|align="center"|4 - 8 | |||
|- | |||
|[[Image:mp_thumb_framework.png|375px]] | |||
|style="width: 150px;" align="center"|[[Framework]] | |||
|align="center"|8 - 14 | |||
|- | |||
|[[Image:mp_thumb_garrison.png|375px]] | |||
|style="width: 150px;" align="center"|[[Garrison]] | |||
|align="center"|8 - 12 | |||
|- | |||
|[[Image:mp_thumb_gauntlet.png|375px]] | |||
|style="width: 150px;" align="center"|[[Gauntlet]] | |||
|align="center"|10 - 16 | |||
|- | |||
|[[Image:mp_thumb_gradient.png|375px]] | |||
|style="width: 150px;" align="center"|[[Gradient]] | |||
|align="center"|6 - 10 | |||
|- | |||
|[[Image:mp_thumb_gulch.png|375px]] | |||
|style="width: 150px;" align="center"|[[Gulch]] | |||
|align="center"|8 - 16 | |||
|- | |||
|[[Image:mp_thumb_haven.png|375px]] | |||
|style="width: 150px;" align="center"|[[Haven]] | |||
|align="center"|6 - 10 | |||
|- | |||
|[[Image:mp_thumb_overpass.png|375px]] | |||
|style="width: 150px;" align="center"|[[Overpass]] | |||
|align="center"|10 - 16 | |||
|- | |||
|[[Image:mp_thumb_pinnacle.png|375px]] | |||
|style="width: 150px;" align="center"|[[Pinnacle]] | |||
|align="center"|8 - 12 | |||
|- | |||
|[[Image:mp_thumb_pipeline.png|375px]] | |||
|style="width: 150px;" align="center"|[[Pipeline]] | |||
|align="center"|10 - 16 | |||
|- | |||
|[[Image:mp_thumb_puncture.png|375px]] | |||
|style="width: 150px;" align="center"|[[Puncture]] | |||
|align="center"|4 - 8 | |||
|- | |||
|[[Image:mp_thumb_quarantine.png|375px]] | |||
|style="width: 150px;" align="center"|[[Quarantine]] | |||
|align="center"|2 - 6 | |||
|- | |||
|[[Image:mp_thumb_radial.png|375px]] | |||
|style="width: 150px;" align="center"|[[Radial]] | |||
|align="center"|10 - 14 | |||
|- | |||
|[[Image:mp_thumb_remnant.png|375px]] | |||
|style="width: 150px;" align="center"|[[Remnant]] | |||
|align="center"|4 - 8 | |||
|- | |||
|[[Image:mp_thumb_rift.png|375px]] | |||
|style="width: 150px;" align="center"|[[Rift]] | |||
|align="center"|n - n | |||
|- | |||
|[[Image:mp_thumb_sandpit.png|375px]] | |||
|style="width: 150px;" align="center"|[[Sand Pit]] | |||
|align="center"|6 - 10 | |||
|- | |||
|[[Image:mp_thumb_scrapheap.png|375px]] | |||
|style="width: 150px;" align="center"|[[Scrapheap]] | |||
|align="center"|4 - 8 | |||
|- | |||
|[[Image:mp_thumb_settlement.png|375px]] | |||
|style="width: 150px;" align="center"|[[Settlement]] | |||
|align="center"|10 - 16 | |||
|- | |||
|[[Image:mp_thumb_transmission.png|375px]] | |||
|style="width: 150px;" align="center"|[[Transmission]] | |||
|align="center"|8 - 16 | |||
|- | |||
|[[Image:mp_thumb_vista.png|375px]] | |||
|style="width: 150px;" align="center"|[[Vista]] | |||
|align="center"|6 - 10 | |||
|- | |||
|[[Image:mp_thumb_warlords.png|375px]] | |||
|style="width: 150px;" align="center"|[[Warlords]] | |||
|align="center"|8 - 12 | |||
|- | |||
|[[Image:mp_thumb_wasteland.png|375px]] | |||
|style="width: 150px;" align="center"|[[Wasteland]] | |||
|align="center"|12 - 16 | |||
|- | |||
|[[Image:mp_thumb_watchtower.png|375px]] | |||
|style="width: 150px;" align="center"|[[Watch Tower]] | |||
|align="center"|4 - 8 | |||
|- | |||
|[[Image:mp_thumb_wreckage.png|375px]] | |||
|style="width: 150px;" align="center"|[[Wreckage]] | |||
|align="center"|10 - 16 | |||
|- | |||
|} | |||
Latest revision as of 13:27, 30 January 2024
This page is intended to serve as an overview guide of the various features of Red Faction: Guerrilla's multiplayer mode, based on the PC version of the Re-Mars-tered edition.
The multiplayer of Red Faction: Guerrilla consists of 8 gamemodes, more than 19 weapons, 10 backpacks, and 41 maps. Gamemodes also have their own variable settings including the starting weapons and backpack, which are different per match in online matchmaking and fully customizable in private games.
Gamemodes
Anarchy - Standard free-for-all deathmatch. Each kill counts as one point, first player to reach the score limit wins.
Team Anarchy - Team-based deathmatch with two teams. Each kill counts as a point for that players' team. First team to reach the score limit wins.
Capture the Flag - Each team has a flag at their base. Get your opponents flag from their base and bring it to yours to score a point. First team to reach the score limit wins.
Siege - One team attacks and the other defends. The attackers must destroy the marked structures, receiving points base don how much they destroyed and how quickly. The defenders must stop the attackers. Each game has two rounds, with both teams getting a chance to attack and defend. Each round ends either when time expires or the attackers destroy all structures. The team with the highest score after the second round wins.
Damage Control - Team-based. There are three targets on the map. The reconstructor is used to repair the targets, which score points for the team of the player that repaired them. Defend your teams targets while going after and destroying those under the control of the opponent.
Demolition - Team-based. Players are periodically designated the "destroyer", one per team at a time. While the destroyer, damage and destroy structures to score points for your team. The other members of the team defend the destroyer or seek out and kill the opponents destroyer, which also scores points and delays the time until they're able to have a new destroyer.
Bagman - A free-for-all gamemode where a bag spawns in the middle of the map. Be the first to reach the bag to hold it; while controlling the bag, you score points. First player to reach the score limit wins.
Team Bagman - Team-based version of bagman. Controlling the bag scores points for your team. First team to reach the score limit wins.
Settings
There are many different settings which can add variety to the way each game works and plays. Some gamemodes have settings that apply only to their specific gamemode. For instance, in Siege each team can have their own completely custome loadout.
Characters
There are 34 playable characters in multiplayer. See Red Faction: Guerrilla Multiplayer Characters for a full list.
Weapons
There are 19 different handheld weapons which the player can spawn with or (with the exception of the sledgehammer) pick up on the map.
Backpacks
There are 10 different backpacks, each with their own unique function and use.
Jetpack
Thrust
Fleetfoot
Stealth
Vision
Firepower
Concussion
Heal
Rhino
Tremor
Maps
There are 41 maps available in custom matchmaking in multiplayer. Some of them are from previous DLCs, and some of them were previously exclusive to Wrecking Crew. Each map has a listed recommended number of players. However, in custom matchmaking any number of players can play on any map.
| Thumbnail | Name | Suggested Players |
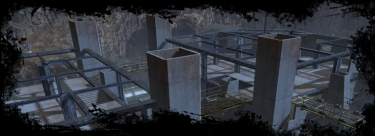
|
Outpost
AKA Assembly |
6 - 10 |
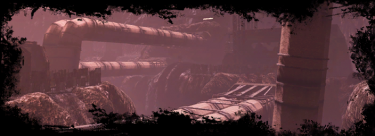
|
Broadside | 4 - 8 |
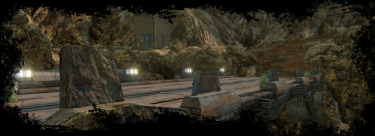
|
Cascade | 6 - 12 |
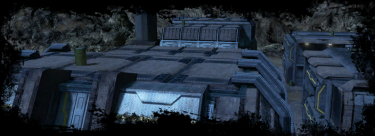
|
Complex | 4 - 10 |
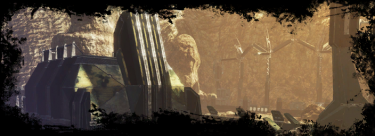
|
Compound | 4 - 8 |
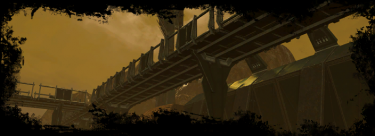
|
Cornered | 10 - 16 |
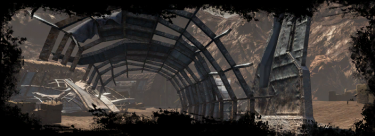
|
Crash Site | 4 - 8 |
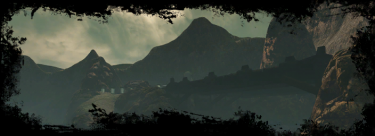
|
Crescent | 10 - 16 |
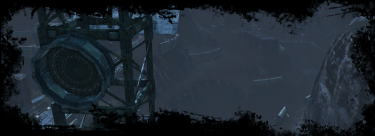
|
Crevice | 8 - 14 |
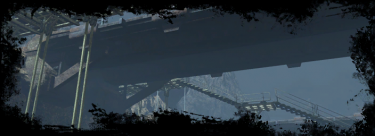
|
Doubletime
AKA Crossover |
6 - 10 |
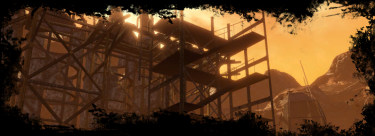
|
Deadzone | 6 - 10 |
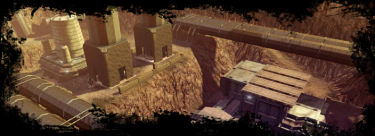
|
Division | 4 - 8 |
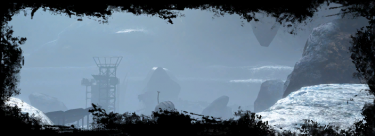
|
Downfall | 6 - 10 |
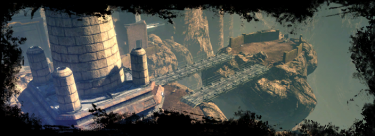
|
Equilibrium | 6 - 10 |
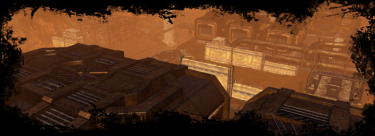
|
Excavation | 6 - 10 |
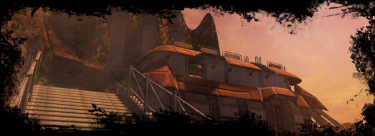
|
Factory | 4 - 8 |
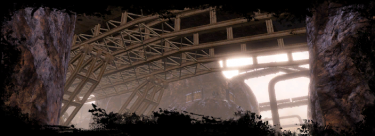
|
Fall Factor | 10 - 16 |
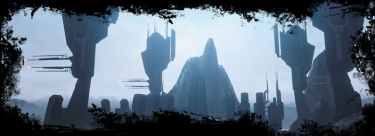
|
Fortress | 4 - 8 |
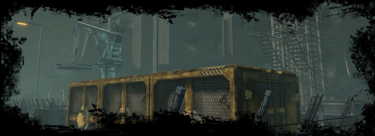
|
Framework | 8 - 14 |
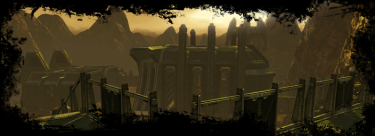
|
Garrison | 8 - 12 |
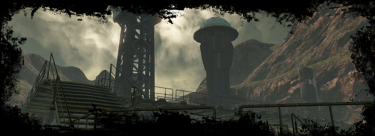
|
Gauntlet | 10 - 16 |
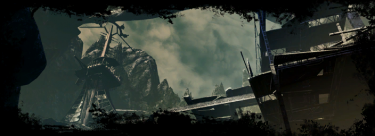
|
Gradient | 6 - 10 |
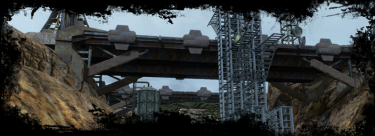
|
Gulch | 8 - 16 |
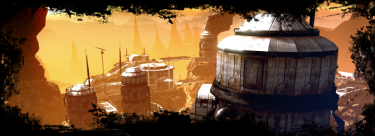
|
Haven | 6 - 10 |
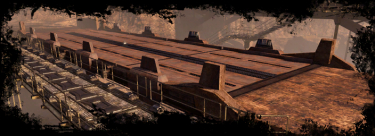
|
Overpass | 10 - 16 |
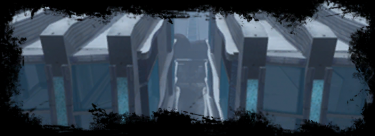
|
Pinnacle | 8 - 12 |
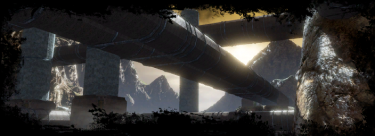
|
Pipeline | 10 - 16 |
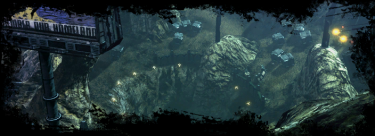
|
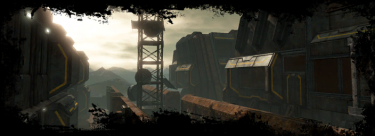
Puncture | 4 - 8 |
|
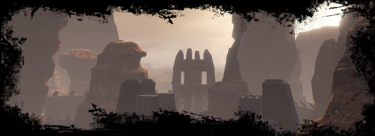
Quarantine | 2 - 6 |
|
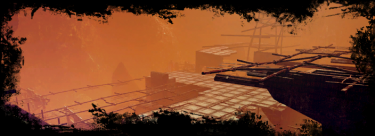
Radial | 10 - 14 |
|
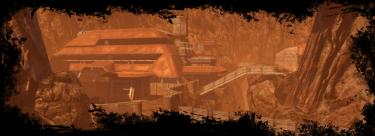
Remnant | 4 - 8 |
|
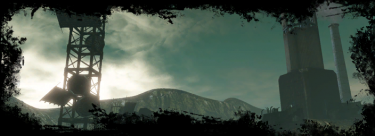
Rift | n - n |
|
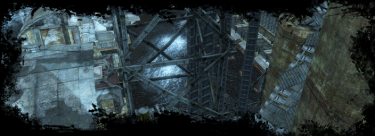
Sand Pit | 6 - 10 |
|
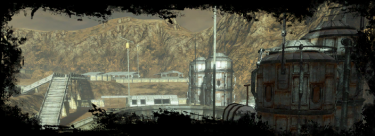
Scrapheap | 4 - 8 |
|
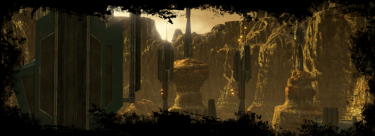
Settlement | 10 - 16 |
|
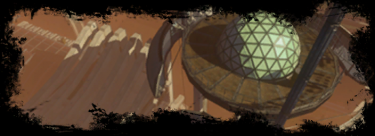
Transmission | 8 - 16 |
|
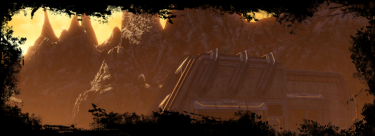
Vista | 6 - 10 |
|
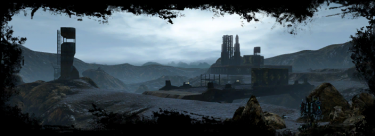
Warlords | 8 - 12 |
|
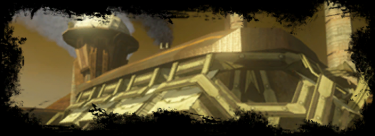
Wasteland | 12 - 16 |
|
Watch Tower | 4 - 8 |
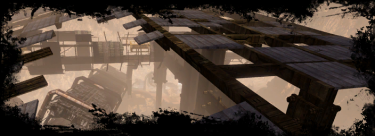
|
Wreckage | 10 - 16 |


